java WSDL接口webService实现方式

一、使用JDK生成WSDL的对象类

1、cmd进入JDK的bin文件中

  执行命令 wsimport -keep -p com.demo.client http://localhost:8080/Demo/services/MyService?wsdl

  比较常用的[options]有:

    1). -d <directory>
      在指定的目录生成class文件
    2). -clientjar <jarfile>
      在当前目录生成jar文件,结合-d <directory>可以在指定的目录生成jar文件
    3). -s <directory>
      在指定的目录生成java源文件
    4). -p <pkg>
      指定生成文件的包结构
    5). -keep
      在生成class文件,或者jar包时,同时保留java源文件

2、eclipse生成WSDL文件

在Eclipse中生成webservice客户端代码,New---->Other---->Webservice---->Webservice Client,选择之前拷贝到eclipse中的wsdl路径点击finish,这样eclipse就帮我们自动生成了webservice的客户端,接下来只需在程序中调用即可,在程序中调用 eclipse自动生成的webservice客户端;

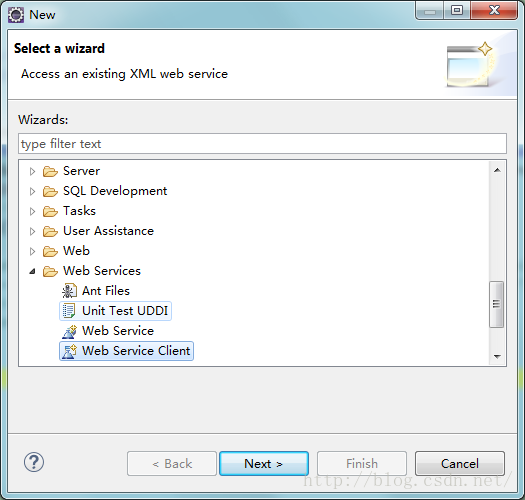
3、MyEclipse 生成 WSDL 文件

在项目上右键,选择New->Other->WebService->WebServiceClient->Next,会看到以下界面:

4、WSDL Maven支持的jar包

?

1

2

3

4

5

6

7

8

9

10

11

12

13

14

15

16

17

18

19

20

21

22

23

24

25

26

27

28

29

30

31

32

33

34

<dependencies>

<!-- ==================== WSDL 依赖文件 start=================== -->

<dependency>

<groupId>org.apache.axis</groupId>

<artifactId>axis</artifactId>

<version>1.4</version>

</dependency>

<dependency>

<groupId>commons-discovery</groupId>

<artifactId>commons-discovery</artifactId>

<version>0.5</version>

</dependency>

<dependency>

<groupId>commons-logging</groupId>

<artifactId>commons-logging</artifactId>

<version>1.2</version>

</dependency>

<dependency>

<groupId>javax.xml</groupId>

<artifactId>jaxrpc</artifactId>

<version>1.1</version>

</dependency>

<dependency>

<groupId>javax.xml.soap</groupId>

<artifactId>saaj-api</artifactId>

<version>1.3.5</version>

</dependency>

<dependency>

<groupId>wsdl4j</groupId>

<artifactId>wsdl4j</artifactId>

<version>1.6.3</version>

</dependency>

<!-- ==================== WSDL 依赖文件 end====================== -->

</dependencies>

以上就是本文的全部内容,希望对大家的学习有所帮助,也希望大家多多支持服务器之家。

本文链接:https://my.lmcjl.com/post/17549.html

展开阅读全文

4 评论

留下您的评论.